
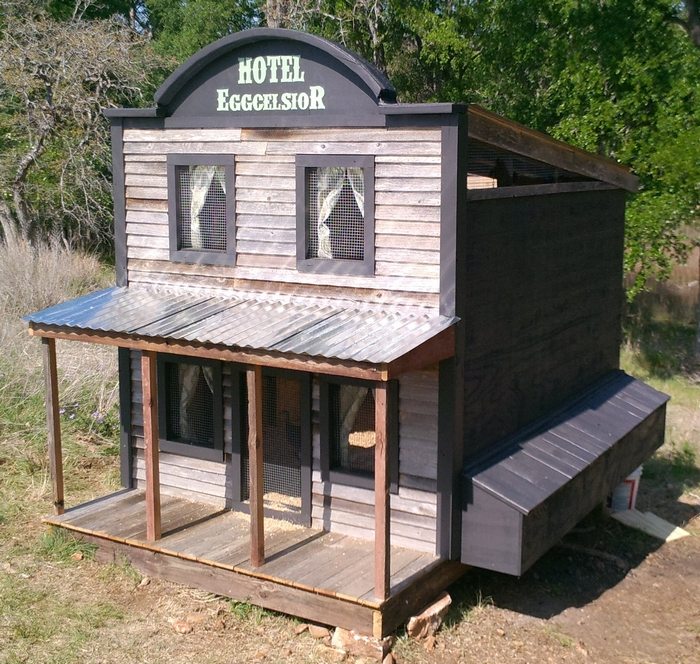
Written by Stephen Clay McGehee. Reposted with permission from The Southern Agrarian – http://www.southernagrarian.com/
This is part of a series of posts about building a chicken coop designed to last for a long time, be easy to maintain – and look good. See Part 1 here
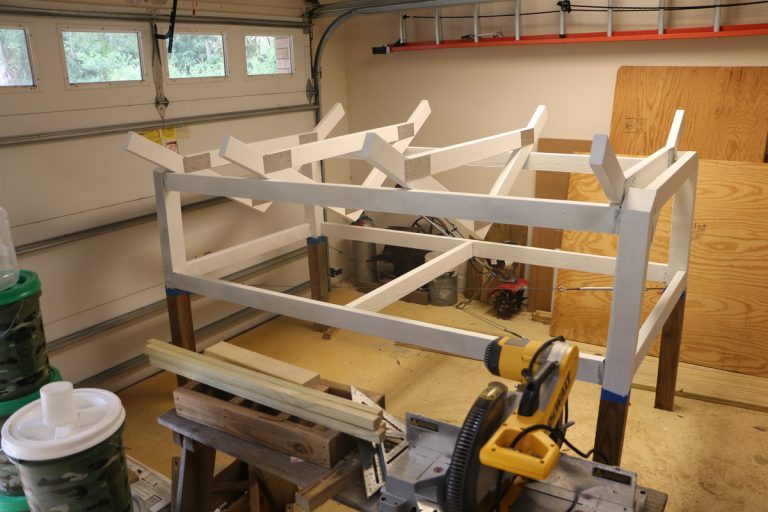
- The entire structure was designed with the aim of making the best use of standard size materials, beginning with a 4′ x 8′ floor size.
- Use the straightest 4×4 posts you can find – it will make the entire project go more smoothly.
- A miter saw with a sharp blade is almost a must-have tool. If you don’t already have one or can borrow one, then this project will make it a worthwhile purchase.
- This photo shows a single 2×4 across the center of the floor. This was later changed to several cross pieces in order to better support the floor, but especially to hang things like the feeder and the ramp that goes from the bottom hatch to the ground.
- Simpson Strong-ties were used throughout the project.
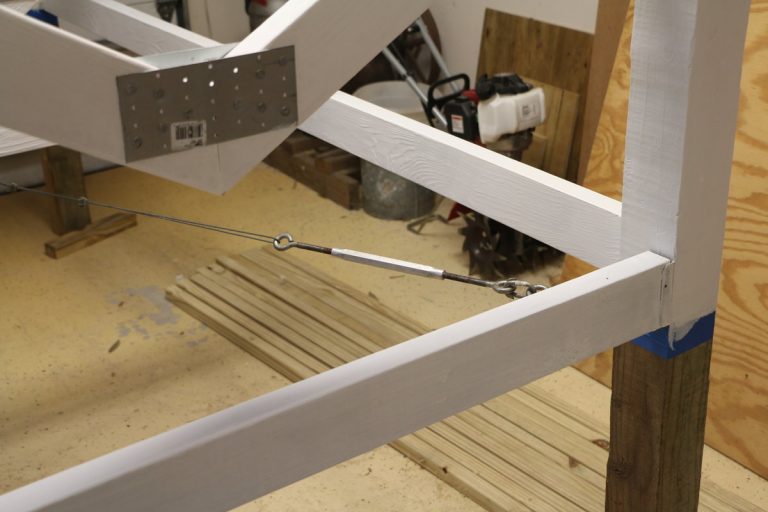
- There were no nails used – only stainless steel deck screws and treated Hardie Board screws.
- Steel cable and turn-buckles were used to square it up and keep it square. Remember that it will need to be moved after completion, and the cables make the coop rigid enough to safely move.
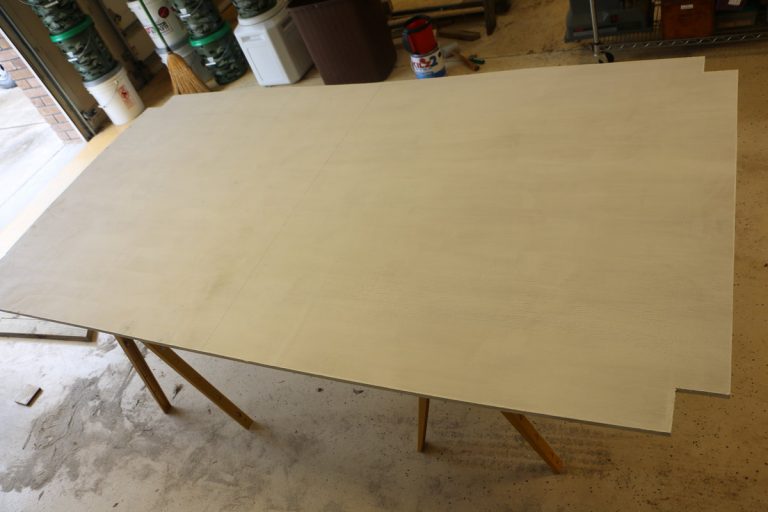
- The floor had to be cut in half (not shown here) in order to fit it into the completed framework.
- After the coop was nearly complete and in position, a hatch was cut into the floor so that the chickens could get into the ground-level section. There is also a side door giving access to an outside pen, but that is not being used at this point.
- The floor is covered with a flexible sheet of white plastic that is far easier to clean than the plywood floor would be. It came in a 4×8 sheet, so no trimming other than the corner notches was needed. (We’ll look at ease of maintenance features in a future post)
- Note that the top ridge of the roof is open. This will have a ridge vent on top.
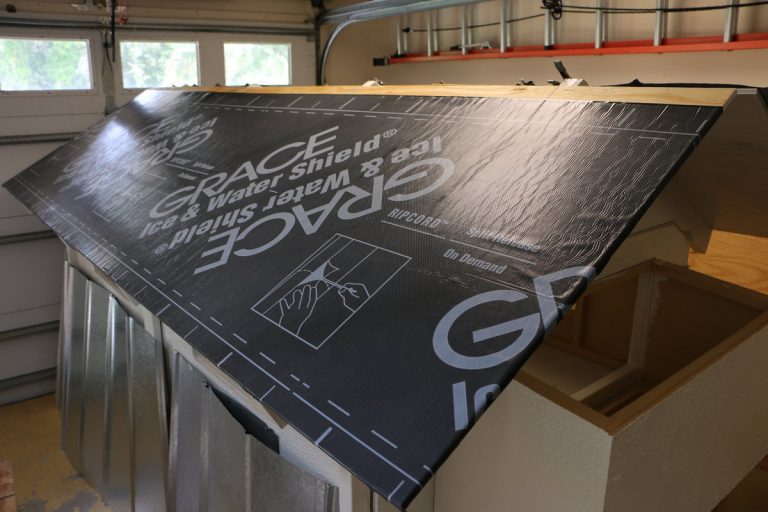
- The underlayment is an important part of the roof – it seals the screw holes from the steel roof. In addition, silicone caulking was added around each of the screw holes.
- Be sure that it completely covers the plywood and pieces overlap according to the manufacturer’s instructions.
- Also shown in this photo is the removable nest box. This turned out very well. The chickens had about five months before they started laying to get used to roosting where I wanted them to roost. In past chicken coops, they would try to roost in the nest boxes, and make a mess of things.
For more content like this, please visit The Southern Agrarian – http://www.southernagrarian.com/


